Step-by-Step Guide to Replacing a Laptop Battery
Replacing a laptop battery is a common maintenance task that can extend the usability of a device. Over time, batteries lose their capacity to hold a charge, leading to shorter runtimes and unexpected shutdowns. This guide provides a systematic approach to swapping out a worn battery, covering the necessary tools, safety considerations, and post-installation calibration steps. The process described is generic and applies to most laptops, though specific models may have unique requirements. It is always recommended to consult the manufacturer’s documentation for your particular device.
The procedure involves several phases: preparation, battery removal, installation, and system calibration. Each phase is explained in detail to ensure clarity and safety. Following these steps can help users manage battery replacement with confidence, whether they are doing it for the first time or have prior experience. The information is presented neutrally, focusing on process and methodology rather than guaranteeing any specific outcome. The actual result may vary based on battery quality, compatibility, and usage patterns.
Understanding Battery Types and Lifespan
Laptop batteries are typically lithium-ion or lithium-polymer, both of which have a finite lifespan measured in charge cycles. A charge cycle is defined as using 100% of the battery’s capacity, though not necessarily from a single discharge. Most batteries are designed to retain around 80% of their original capacity after 300 to 500 cycles. After this point, the battery may still function but with noticeably reduced runtime. Recognizing the signs of battery wear is the first step in deciding whether a replacement is necessary. Common indicators include a swollen battery, rapid discharge, or the system unexpectedly powering off despite showing a charge.
It is important to note that battery degradation is influenced by several factors, including temperature, usage habits, and charging practices. High temperatures can accelerate chemical aging, and frequent partial discharges may not necessarily reduce cycle count but can affect overall health. Some laptops have built-in battery management software that provides health reports. Users can check these reports to assess the battery’s condition. If a replacement is needed, the following sections describe the tools and steps required.
Tools and Safety Precautions
Before beginning the replacement, gather the necessary tools. Typically, you will need a small Phillips-head screwdriver, a plastic spudger or prying tool, and possibly a pair of tweezers. Some laptops require a Torx screwdriver, so it is advisable to check the manufacturer’s guide. Additionally, having an anti-static wrist strap or a grounded surface can prevent electrostatic discharge that might damage internal components. It is also prudent to have a clean, lint-free cloth to handle the battery and keep the area tidy.
Safety is paramount when working with batteries. Lithium-ion batteries can be volatile if punctured or damaged. Always power down the laptop and unplug it from the AC adapter before opening the case. Remove any external peripherals and, if possible, place the laptop on a stable, non-conductive surface. Avoid applying excessive force when prying, as this could damage the casing or internal components. If the battery shows signs of swelling, such as a bulging case or difficulty closing the laptop, handle it with extra care and consider contacting a professional. Do not attempt to puncture, crush, or incinerate the battery. For disposal, follow local regulations, as batteries should not be thrown in regular trash.
Accessing the Battery Compartment
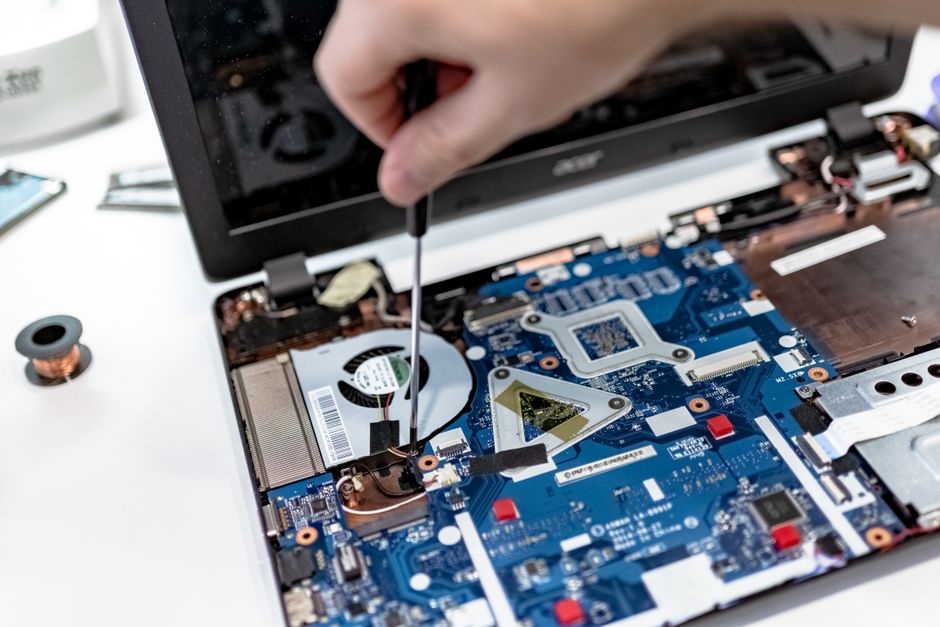
The method to access the battery depends on the laptop design. Many laptops have a bottom panel that can be removed, allowing access to the battery. Others have a dedicated battery compartment that is secured with latches. Some models, particularly ultra-thin ones, may have the battery integrated and require more extensive disassembly. To begin, turn off the laptop and disconnect all cables. Then, remove the bottom panel. This may involve unscrewing a series of screws; keep them organized to avoid confusion. In some cases, the panel may be held by clips, which can be released with a spudger. If the battery is external, sliding latches or a release button might disengage it.
Once the panel is removed, locate the battery. It is usually a rectangular block with a connector to the motherboard. Do not touch any other components unless necessary. Take note of the battery’s orientation and the connector type. Some batteries are connected via a cable that plugs into the motherboard, while others have a direct connector that slides into place. Carefully disconnect the battery by pulling the connector straight out, avoiding any twisting motion. If there are screws securing the battery, remove them and set them aside.
Removing the Old Battery
With the battery disconnected, you can proceed to remove it from the laptop. If it was screwed in, remove the screws and gently lift the battery out. For batteries that are adhered, you may need to use a spudger to gently pry it away from the chassis. Always support the battery from underneath to avoid bending the connector pins. Avoid using metal tools that could short-circuit the battery or other components. Once the battery is free, place it in a safe location, preferably a static-free bag or a non-conductive container. Handle the battery by its edges to minimize the risk of damage.
Before installing the new battery, inspect the laptop’s internal compartment for any dust or debris that could interfere with the connection. Use the lint-free cloth to clean the area if necessary. Also, check the condition of the battery connector and the cable for any signs of wear or damage. If any issues are observed, it may be advisable to consult with a professional. Do not force the new battery into place; it should fit snugly without excessive pressure. Align the connector properly and push it in gently until it clicks or seats firmly. Ensure that any screws are reinserted and tightened to the appropriate torque, but do not over-tighten.
Calibration and System Setup
After the new battery is installed, the next step is to calibrate the system to recognize the battery and ensure accurate reporting of charge levels. Calibration involves fully charging the battery, then discharging it completely, and then charging it again. This process can help the battery’s fuel gauge chip reset and align with the actual capacity. However, it is worth noting that modern battery management systems may not require a full calibration cycle, and following the manufacturer’s guidance is recommended.
To begin, close the laptop’s bottom panel and secure it with the screws. Power on the laptop and navigate to the operating system’s battery settings. Check if the system detects the new battery and its status. It may be necessary to update the battery driver or firmware from the manufacturer’s website, though this is not always required. Once the system is up and running, connect the AC adapter and allow the battery to charge to 100%. Leave it plugged in for at least two hours to ensure a full charge. Then, unplug the adapter and use the laptop normally until the battery drains completely and the laptop shuts down. After that, plug in the adapter and charge it again to full without interruptions. This process helps the battery’s internal controller calibrate the charge levels.
After the calibration is complete, the laptop should provide accurate battery percentage readings. It is also advisable to monitor the battery health over the next few days to ensure that it is discharging and charging as expected. Some laptops provide diagnostic software that can show the battery’s designed capacity and current charge capacity. This can give an indication of the new battery’s condition. If any inconsistencies are observed, such as sudden shutdowns or inaccurate readings, it may be necessary to re-seat the battery or consult a professional. The success of the replacement depends on the quality of the battery and the correctness of installation, and these factors can influence the final performance.